Thursday, December 29, 2011

Second pair of skis

So, a couple years have passed.  I've skied quite a bit on that first pair of skis, but their time has come, one edge started to pull out, one edge has cracked.  Overall still usable, but long past their prime.  So it was time for another pair, and Christmas break was my chance.

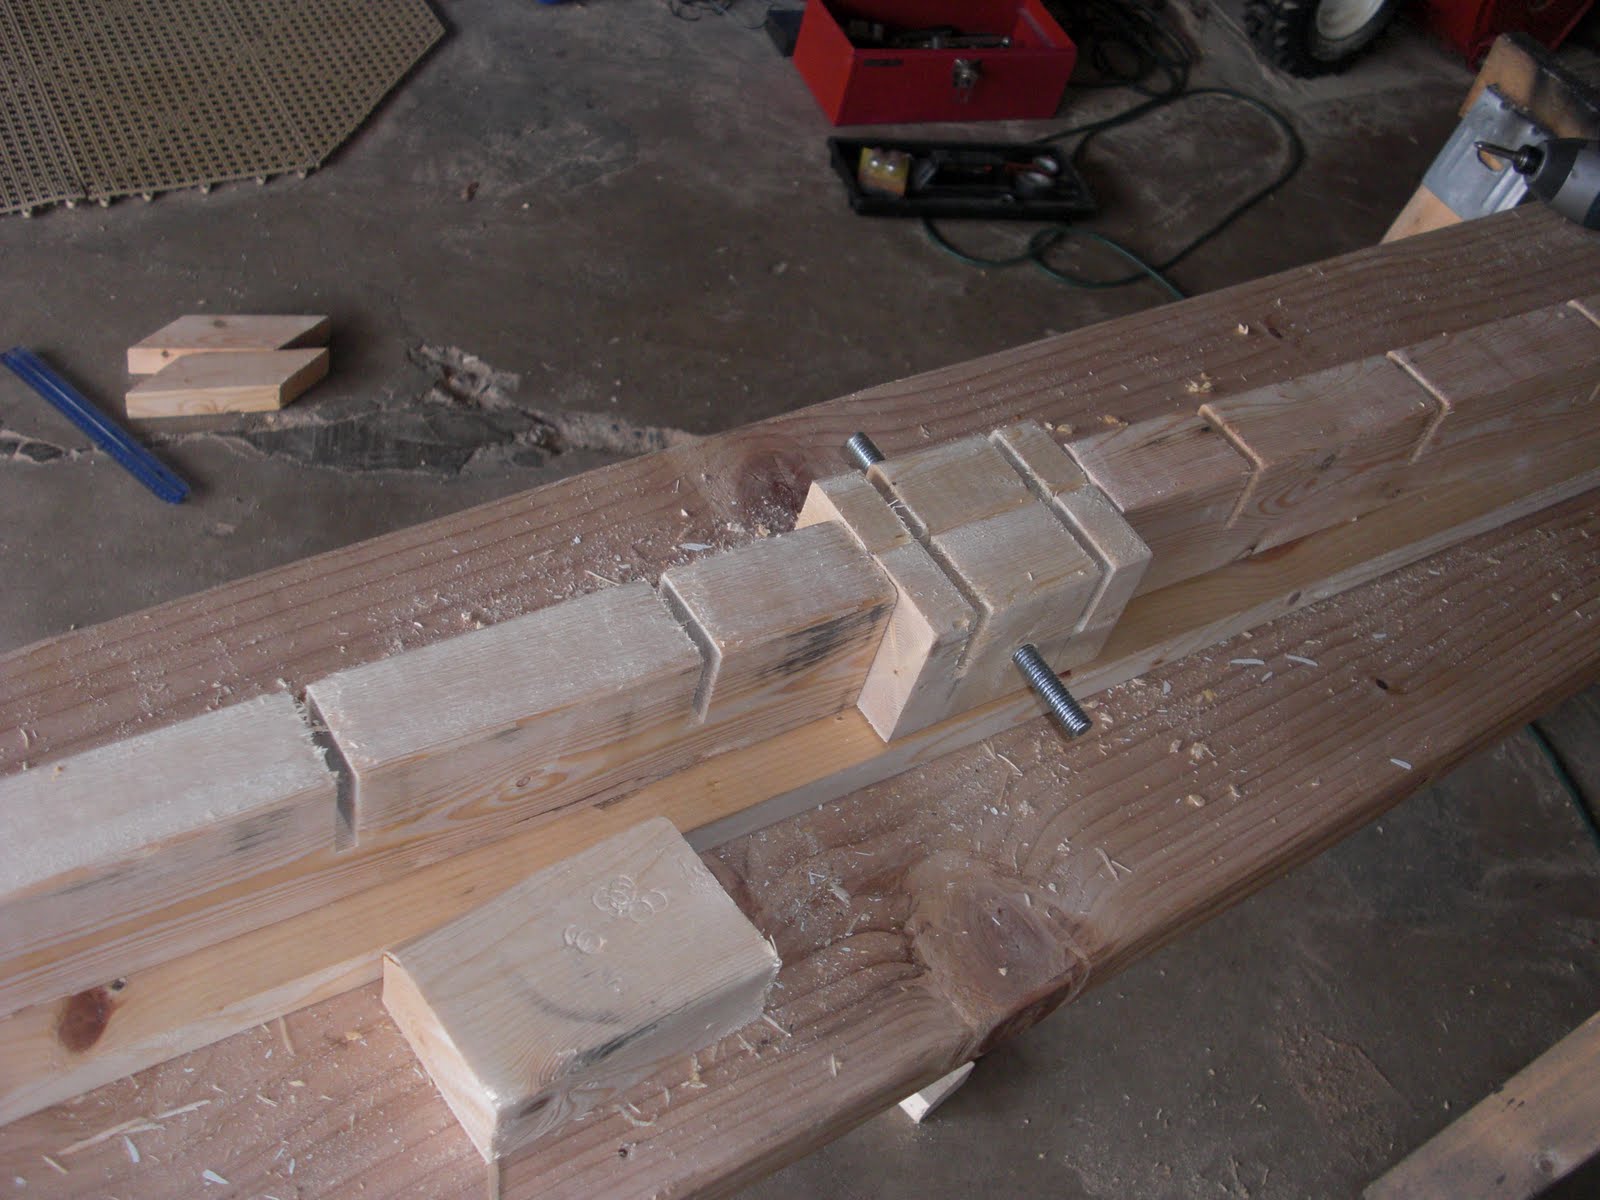
I used a core I profiled shortly after finishing my first pair, but never got around to using.  I patched together some scraps of base material into nifty die cut bases, and routed using a new and much simpler jig.

I used Resin Reseach Project 21 2000 resin and their slow hardener, giving a pot life of 50minutes and a cure time of 5 hours at room temperature.

The design is something like the Line Chronics, 170-some cm long and dimensions around 120-90-118.  There is some camber underfoot as well as tip and tail rocker.


 Layup went smoothly on the first ski, but took nearly an hour even with the help of my dad.

This time I wanted to heat the ski while pressing, because everything I've read suggests that a heated cure not only gives faster bonding but also much stronger bonding.  Heating blankets are most commonly used for this, but they're expensive and difficult to find.  I came up with a simple hot box and decided to try it, despite finding few examples of this technique online.
With layup complete and the press inflated I slid over a box of 1" foam board insulation, sealed up the ends, and placed two small space heaters blowing into the box.
I pressed for four hours like this.  During that time my firehose blistered and popped near the end (thankfully only damaging the outer protective layer and not the inner structural layers).  Temperature in the cat track reached 105F, and temperatures in the top of the box neared 200F.  After four hours I pulled out the skis, thinking with the heat inside they should be done early.  The epoxy was far from cured, which was quite disheartening.  I put the press back together and pressed for another two hours, for a total of six hours.  After which, the epoxy was cured and the skis were looking quite good.


Tomorrow the second ski gets pressed and they both receive a high temperature post cure.

Sunday, December 20, 2009


Took like 15 minutes and tried out my new skis.  So fun.


Testing my new skis from nate myton on Vimeo.

Saturday, December 19, 2009

Skis


177cm 128-97-128mm
Just need to seal the sidewalls and drill the inserts out for my bindings.

Thursday, December 17, 2009

Pictures


WOOHOO!!!

Just pulled my first ski out of the press and put the second one in.  That will be removed tomorrow morning.
The ski looks great.   Pictures will follow.

Tuesday, December 15, 2009

A mad dash.

I'm nearing the finish.  Much has changed since my last post, but I haven't had time to document and upload it.  I've been quite busy trying to finish the skis before I leave on Christmas break, 7 short days from now.  I hope to press my first ski tomorrow.  Photos will come soon (unlikely).

Monday, November 16, 2009

Core

I've begun to work on the actual "make a ski" part of this whole process.  I laminated the core out of redwood and pine, with walnut sidewalls..  I chose redwood because I had a nice long piece of it with very straight, vertical grain.  Since the grain was already very regular and vertical I didn't cut it into small strips and re-laminate it as many builders do.  The core is one piece of redwood about 4" wide.  On either side of that is pine, and finally on the outside is walnut.  Pine was chosen since it was on hand and has a nice light color.  Walnut was chosen for the sidewalls because it was on hand, it's stiff and hard (hopefully will make for good impact resistance), and it has a nice dark color.  I glued it all together with wood glue.

The first step was to glue together the redwood and pine.


Next step was cutting it out to the correct dimensions for the ski, minus 1/4" all around for the walnut sidewalls to be attached afterwards.  This allows the sidewalls to follow the sidecut of the ski.  To cut the core I had planned to create a 1:1 scale printout of my design, cut out a Masonite template to match that, and then use that temple to route the actual cores.  My plan was thwarted by the fact that I was unable to make a really satisfactory template.  So I decided to make a nifty jig based on the one used by Michael from 333skis.  After a lot of trial and error and frustration I was successful.

Basically it's a 2"x4" spine with 1/4" slots cut with a dado blade.


 In the slots go shims cut from Masonite to the dimensions of the skis (minus 1/4" on each side to account for the rails).  The rails are also made from Masonite.  In the slots go shims cut from Masonite to the dimensions of the skis (minus 1/4" on each side to account for the rails).  The rails are also made from Masonite.  The shims keep the rails from moving inward..  There are also 9 piece of threaded rod that keep the rails from shifting out.  To determine the lengths of the shims I first cut the middle and end shims based on the desired dimensions for the skis.  Then I tighten the bolt in the middle and allow the Masonite to curve naturally into an arc.  Then I measure at each of the other slots and make shims that just fit.


Then I screw down the core and run the router along the rails.


After the core is cut to the proper dimensions I glue on the walnut sidewalls.