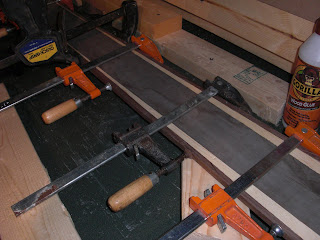
I've begun to work on the actual "make a ski" part of this whole process. I laminated the core out of redwood and pine, with walnut sidewalls.. I chose redwood because I had a nice long piece of it with very straight, vertical grain. Since the grain was already very regular and vertical I didn't cut it into small strips and re-laminate it as many builders do. The core is one piece of redwood about 4" wide. On either side of that is pine, and finally on the outside is walnut. Pine was chosen since it was on hand and has a nice light color. Walnut was chosen for the sidewalls because it was on hand, it's stiff and hard (hopefully will make for good impact resistance), and it has a nice dark color. I glued it all together with wood glue.
The first step was to glue together the redwood and pine.
Next step was cutting it out to the correct dimensions for the ski, minus 1/4" all around for the walnut sidewalls to be attached afterwards. This allows the sidewalls to follow the sidecut of the ski. To cut the core I had planned to create a 1:1 scale printout of my design, cut out a Masonite template to match that, and then use that temple to route the actual cores. My plan was thwarted by the fact that I was unable to make a really satisfactory template. So I decided to make a nifty jig based on the one used by Michael from 333skis. After a lot of trial and error and frustration I was successful.
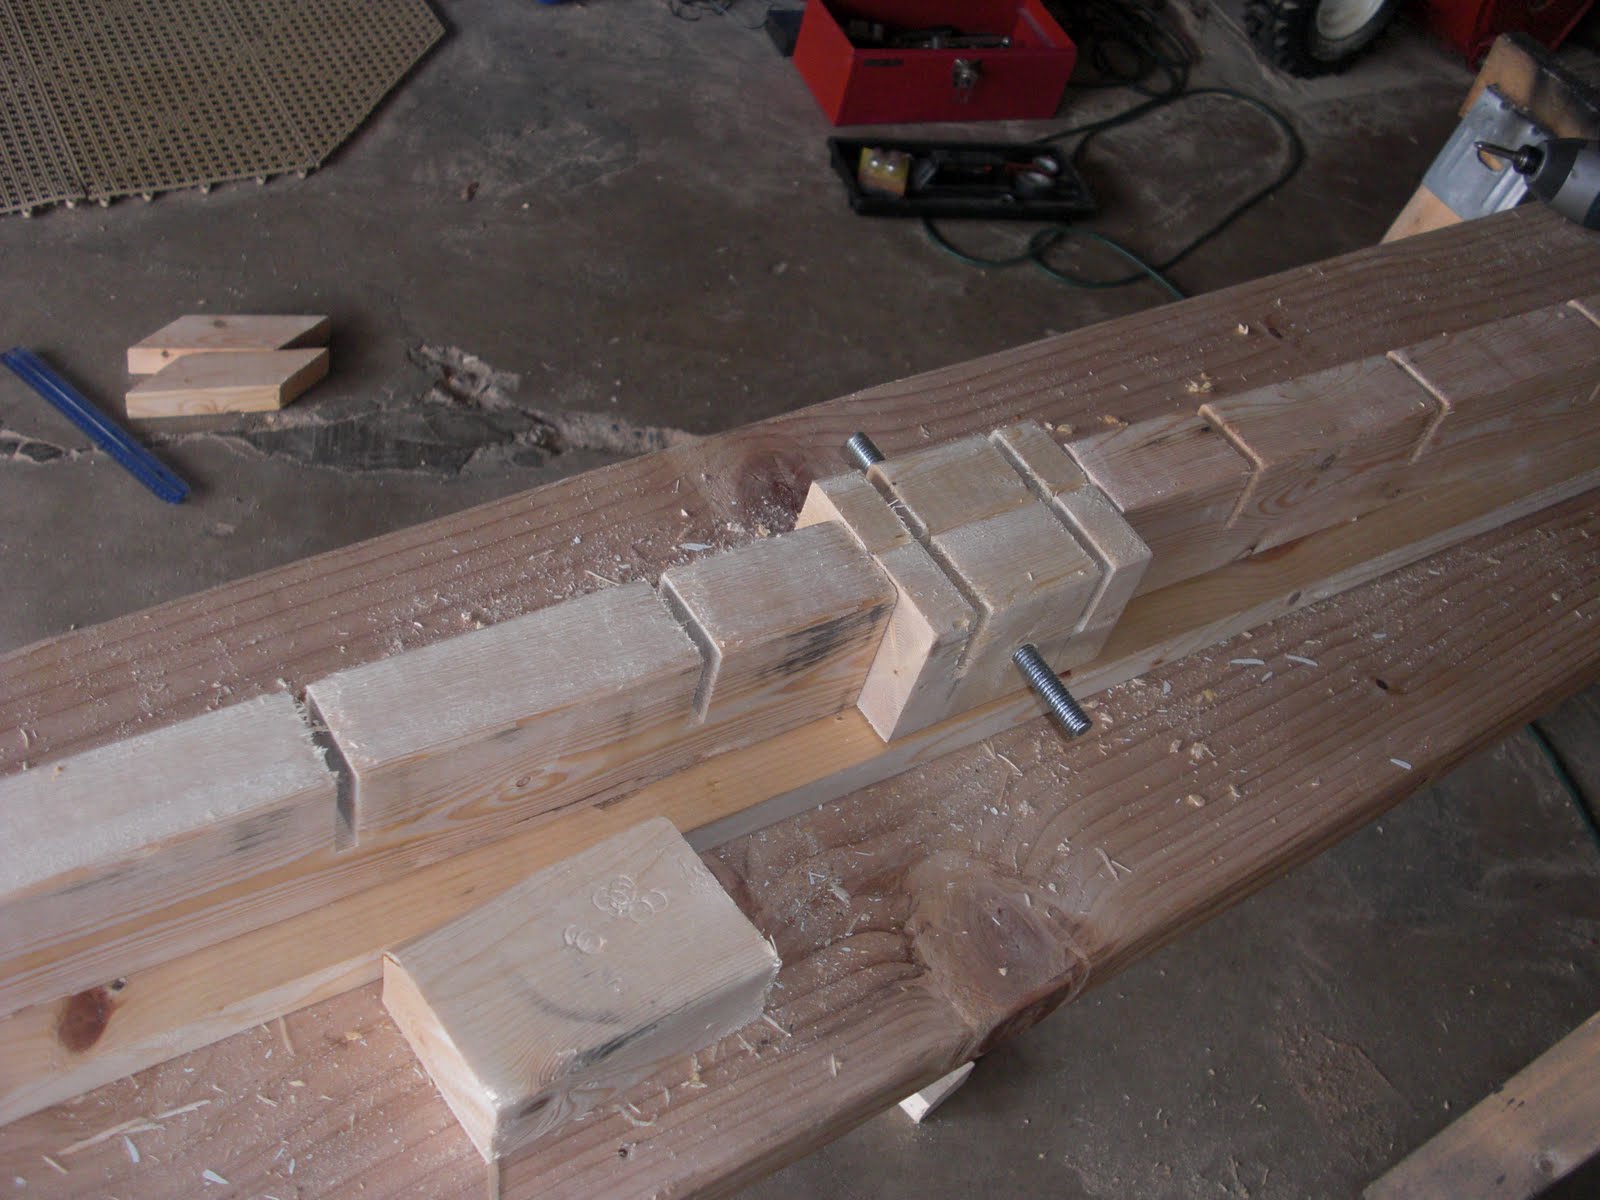
Basically it's a 2"x4" spine with 1/4" slots cut with a dado blade.

In the slots go shims cut from Masonite to the dimensions of the skis (minus 1/4" on each side to account for the rails). The rails are also made from Masonite. In the slots go shims cut from Masonite to the dimensions of the skis (minus 1/4" on each side to account for the rails). The rails are also made from Masonite. The shims keep the rails from moving inward.. There are also 9 piece of threaded rod that keep the rails from shifting out. To determine the lengths of the shims I first cut the middle and end shims based on the desired dimensions for the skis. Then I tighten the bolt in the middle and allow the Masonite to curve naturally into an arc. Then I measure at each of the other slots and make shims that just fit.

Then I screw down the core and run the router along the rails.

After the core is cut to the proper dimensions I glue on the walnut sidewalls.